Since I've woven many placemats over the years, but no longer
have a loom as you all know, I thought I'd try my hand at some
quilted ones. I wanted to create them from photos I've taken
and stylize and simplify the design, letting the photo guide me in my color choices.
I decided to combine several techniques I've learned over the
past few months as I've viewed hundreds of videos on-line.
I guess the best thing to do was make a little sample... so here we go!!!

I grabbed a piece of fabric and all the quilting supplies I planned to use:
I wanted to do the raw edge appliqué technique that I tried once before.
I wanted to use Annie's Soft and Stable for the foundation and hose to apply
Heat n Bond-lite to the back side of the individual fabric pieces because
it would bond the fabric to the foundation. And then I would stitch
around all the shapes.
Next I had to decide which of my photos to use... and then design my
full scale pattern.

Boya Lake Provincial Park was one of our favorite places to
camp in our 5th wheel. We always managed to get the same
wonderful spot along the lakes edge where we pulled in a
side view, pull thru space. It's a great place to kayak as well.
I took this photo in 2009.

Boya Lake is located along British Columbia's Stewart/Cassier Hwy
just a short distance south of Watson Lake which is just across the
Yukon Territory border.

Glacier Bay Alaska made the cut from our 2013 vacation trip...
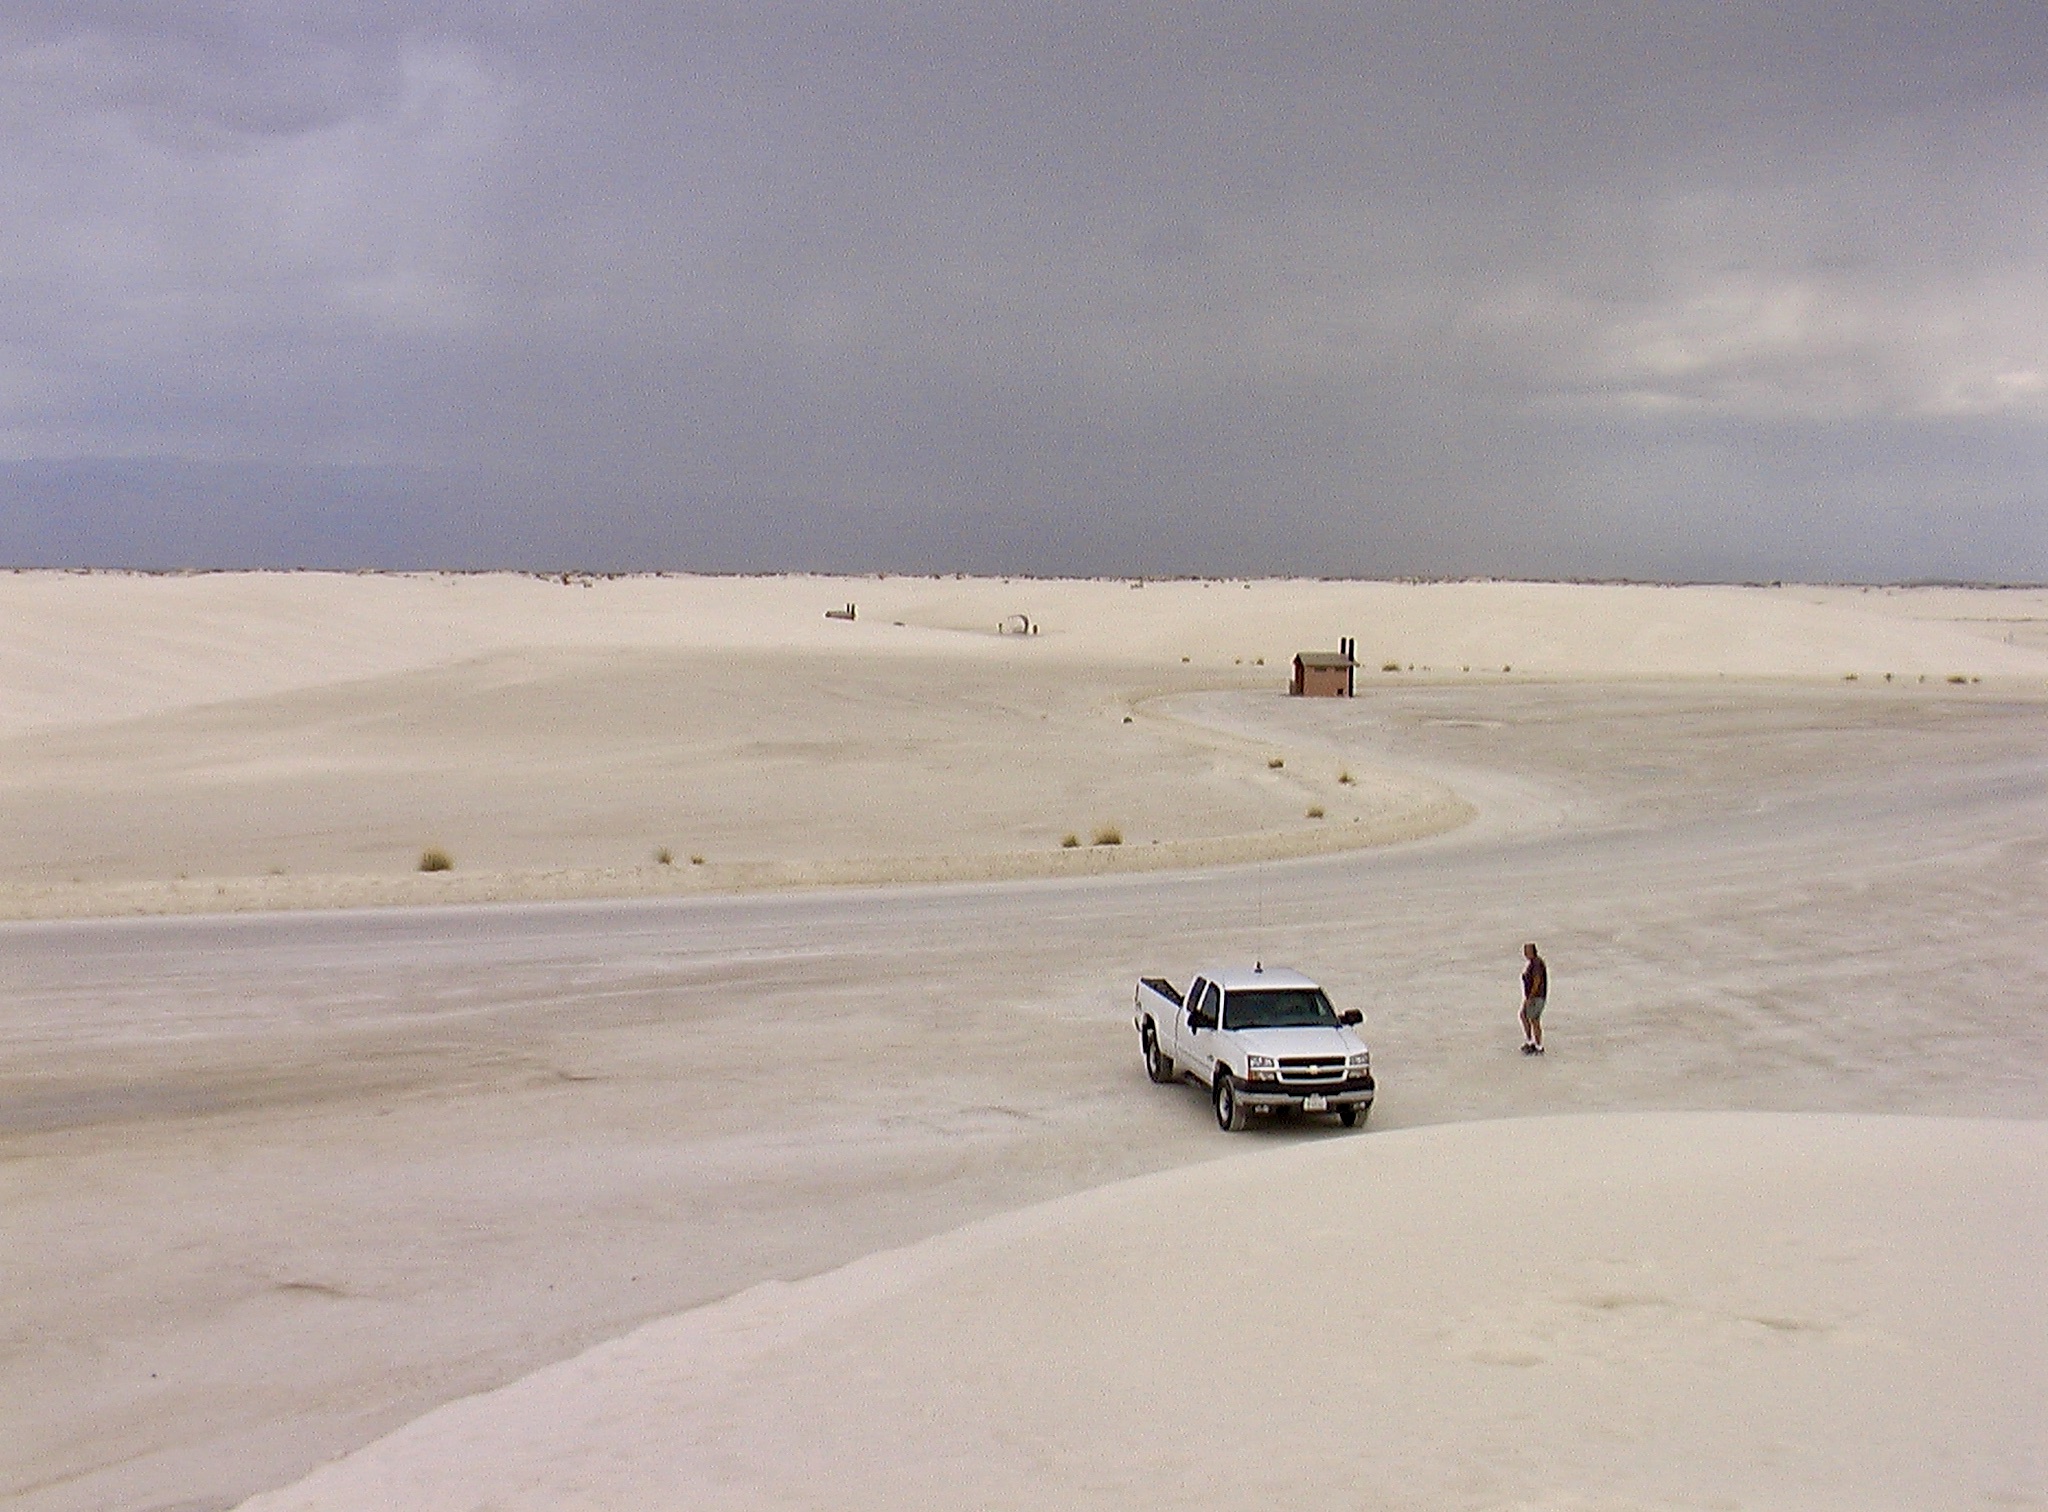
as did Sand Dunes National Park in Alamogordo NM.

I combined elements from these 2 photos which I took in 2009,
to create my design.

The Rubicon Trail along the shore of Lake Tahoe in CA is one of my
all time favorites. Many fond memorie with my hiking friends, the Alta Hikers.
We hiked this trail between Emerald Bay and D.L. Bliss Park
every year for over 15 years!!! Photo taken 2015.
The next phase, designing my pattern, which I did on my computer.
I “masked” my full photo into 4 equal parts which I pasted together
to get my desired dimensions, 15 & 3/4" x 11".

Then I placed them on the dark box which replicated the dark
binding I would create around the finished placemat.
This is UL=upper left,

UR=upper right,

LL=lower left

and LR=lower right. Just put them together in your mind
and you'll get the idea.

Then I took my full scale designs to the quilt shop to select the fabrics.
This was my choice for Boya Lake, but I changed my mind
on a couple of the fabrics when I got home and used two
pieces I'd purchased for other designs.

All had to be pre-washed, dried and ironed before the "cutting" began.
The finished placemats are shown below. Two are soft & subtle and
two are bold and bright. My favorite is Glacier Bay AK.
(Remember you can click on any photo to get a closer look.)

Lake Tahoe, CA

Boya Lake, BC Canada

Glacier Bay, AK

White Sands Nat'l Monument.
I also used an unusual technique to create the binding. It
was much simpler than the traditional quilt binding process.
All I had to do was cut my backing material (a beautiful dark batik print)
1 3/4" larger (all the way around) the finished quilted piece.
The backing material was folded to meet the edge
of the piece, then folded over the top to create the width of "binding"
I wanted and then stitched it in place from the front side.
This also bound all the layers together.
What's next? Who knows!!! I did learn a lot and enjoyed the
process so I may try some of my
close-up flower photos for a similar project, maybe
a table runner or two...


No comments:
Post a Comment