Wednesday, July 6, 2022

Celebrate... July 4th 2022


Residents of Lakeview Village (where we live) started the activity
with a parade, which went right past our front door.  Yes
we had ring side seats, but I stood so I could frame up
each photo.


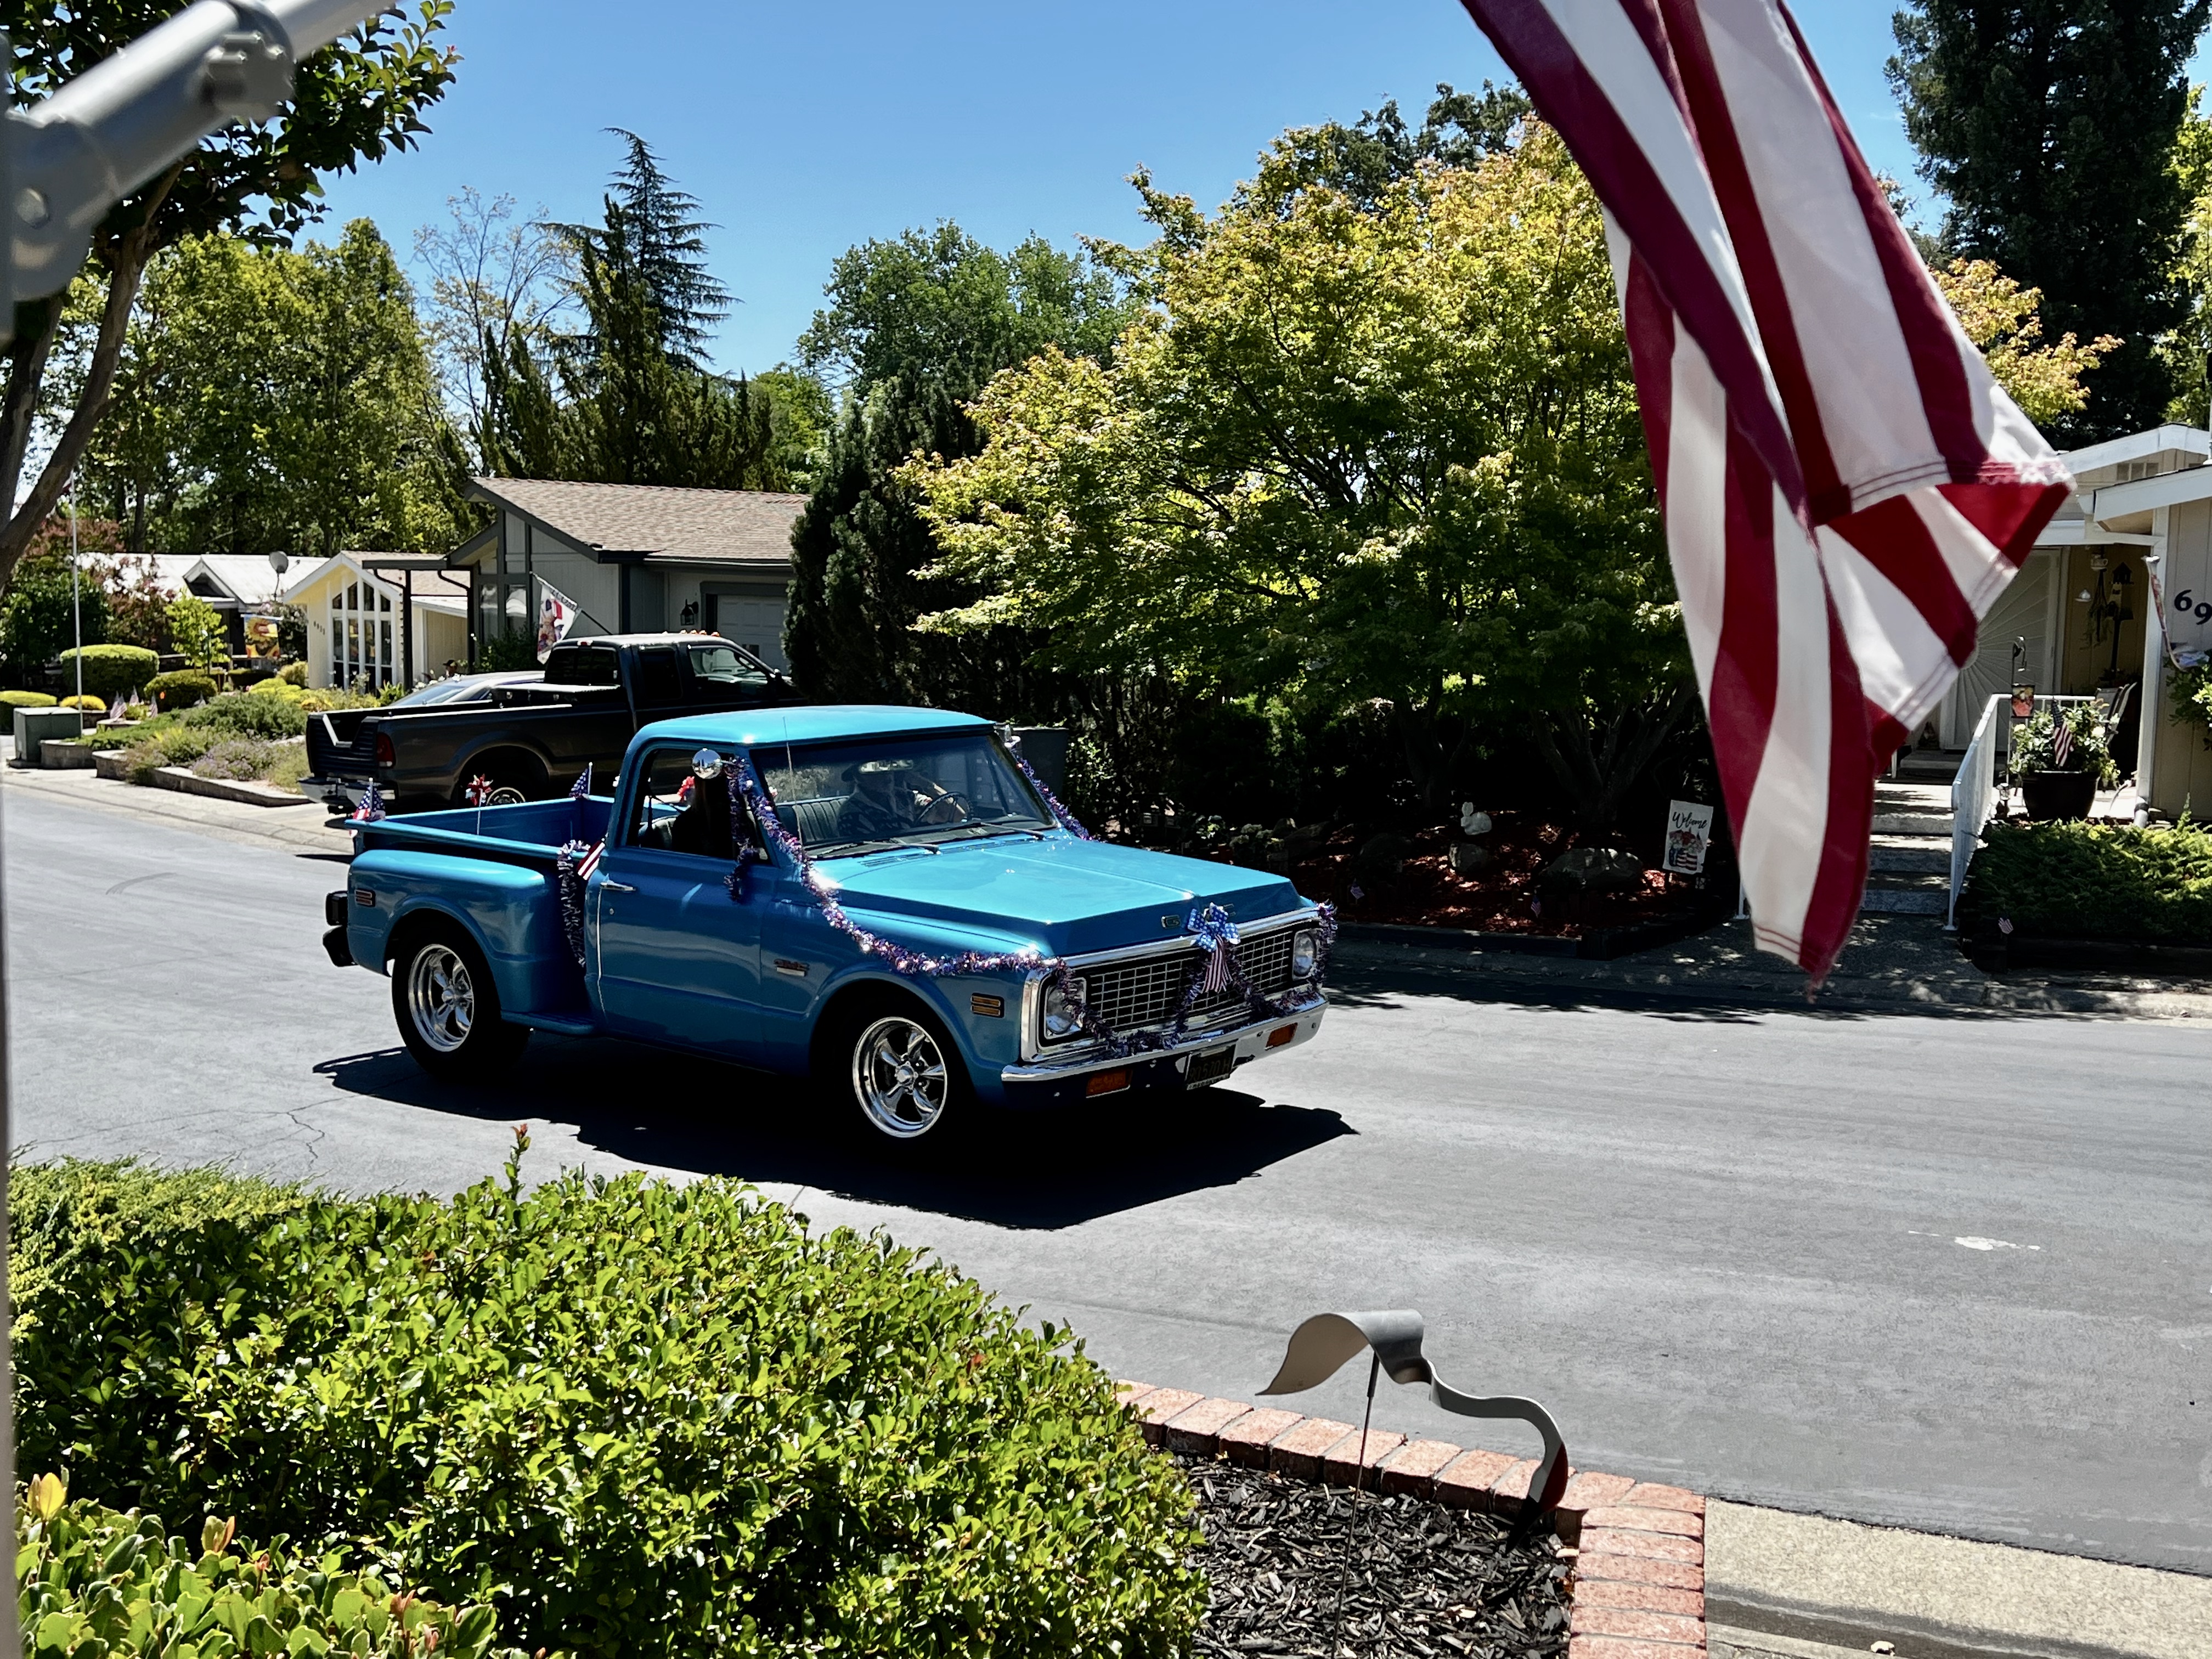
This was Don's favorite vehicle... a  shiny GMC
70' ish half-ton pickup decorated with glitter ribbon.
(Remember to click on any photo for a closer view.)


This couple decided to to go tandem,


as did another couple a few "vehicles" back.


This parade reminded us of when we lived in AZ, as
the participants tossed us candy as they passed by
during the Fourth of July parade!!!


Another  creative individual  used "ole glory" as a festive
hood ornament, 


while one lady simply looked calm and beautiful decked
out in RED,  WHITE & BLUE on the back of a red motorcycle.


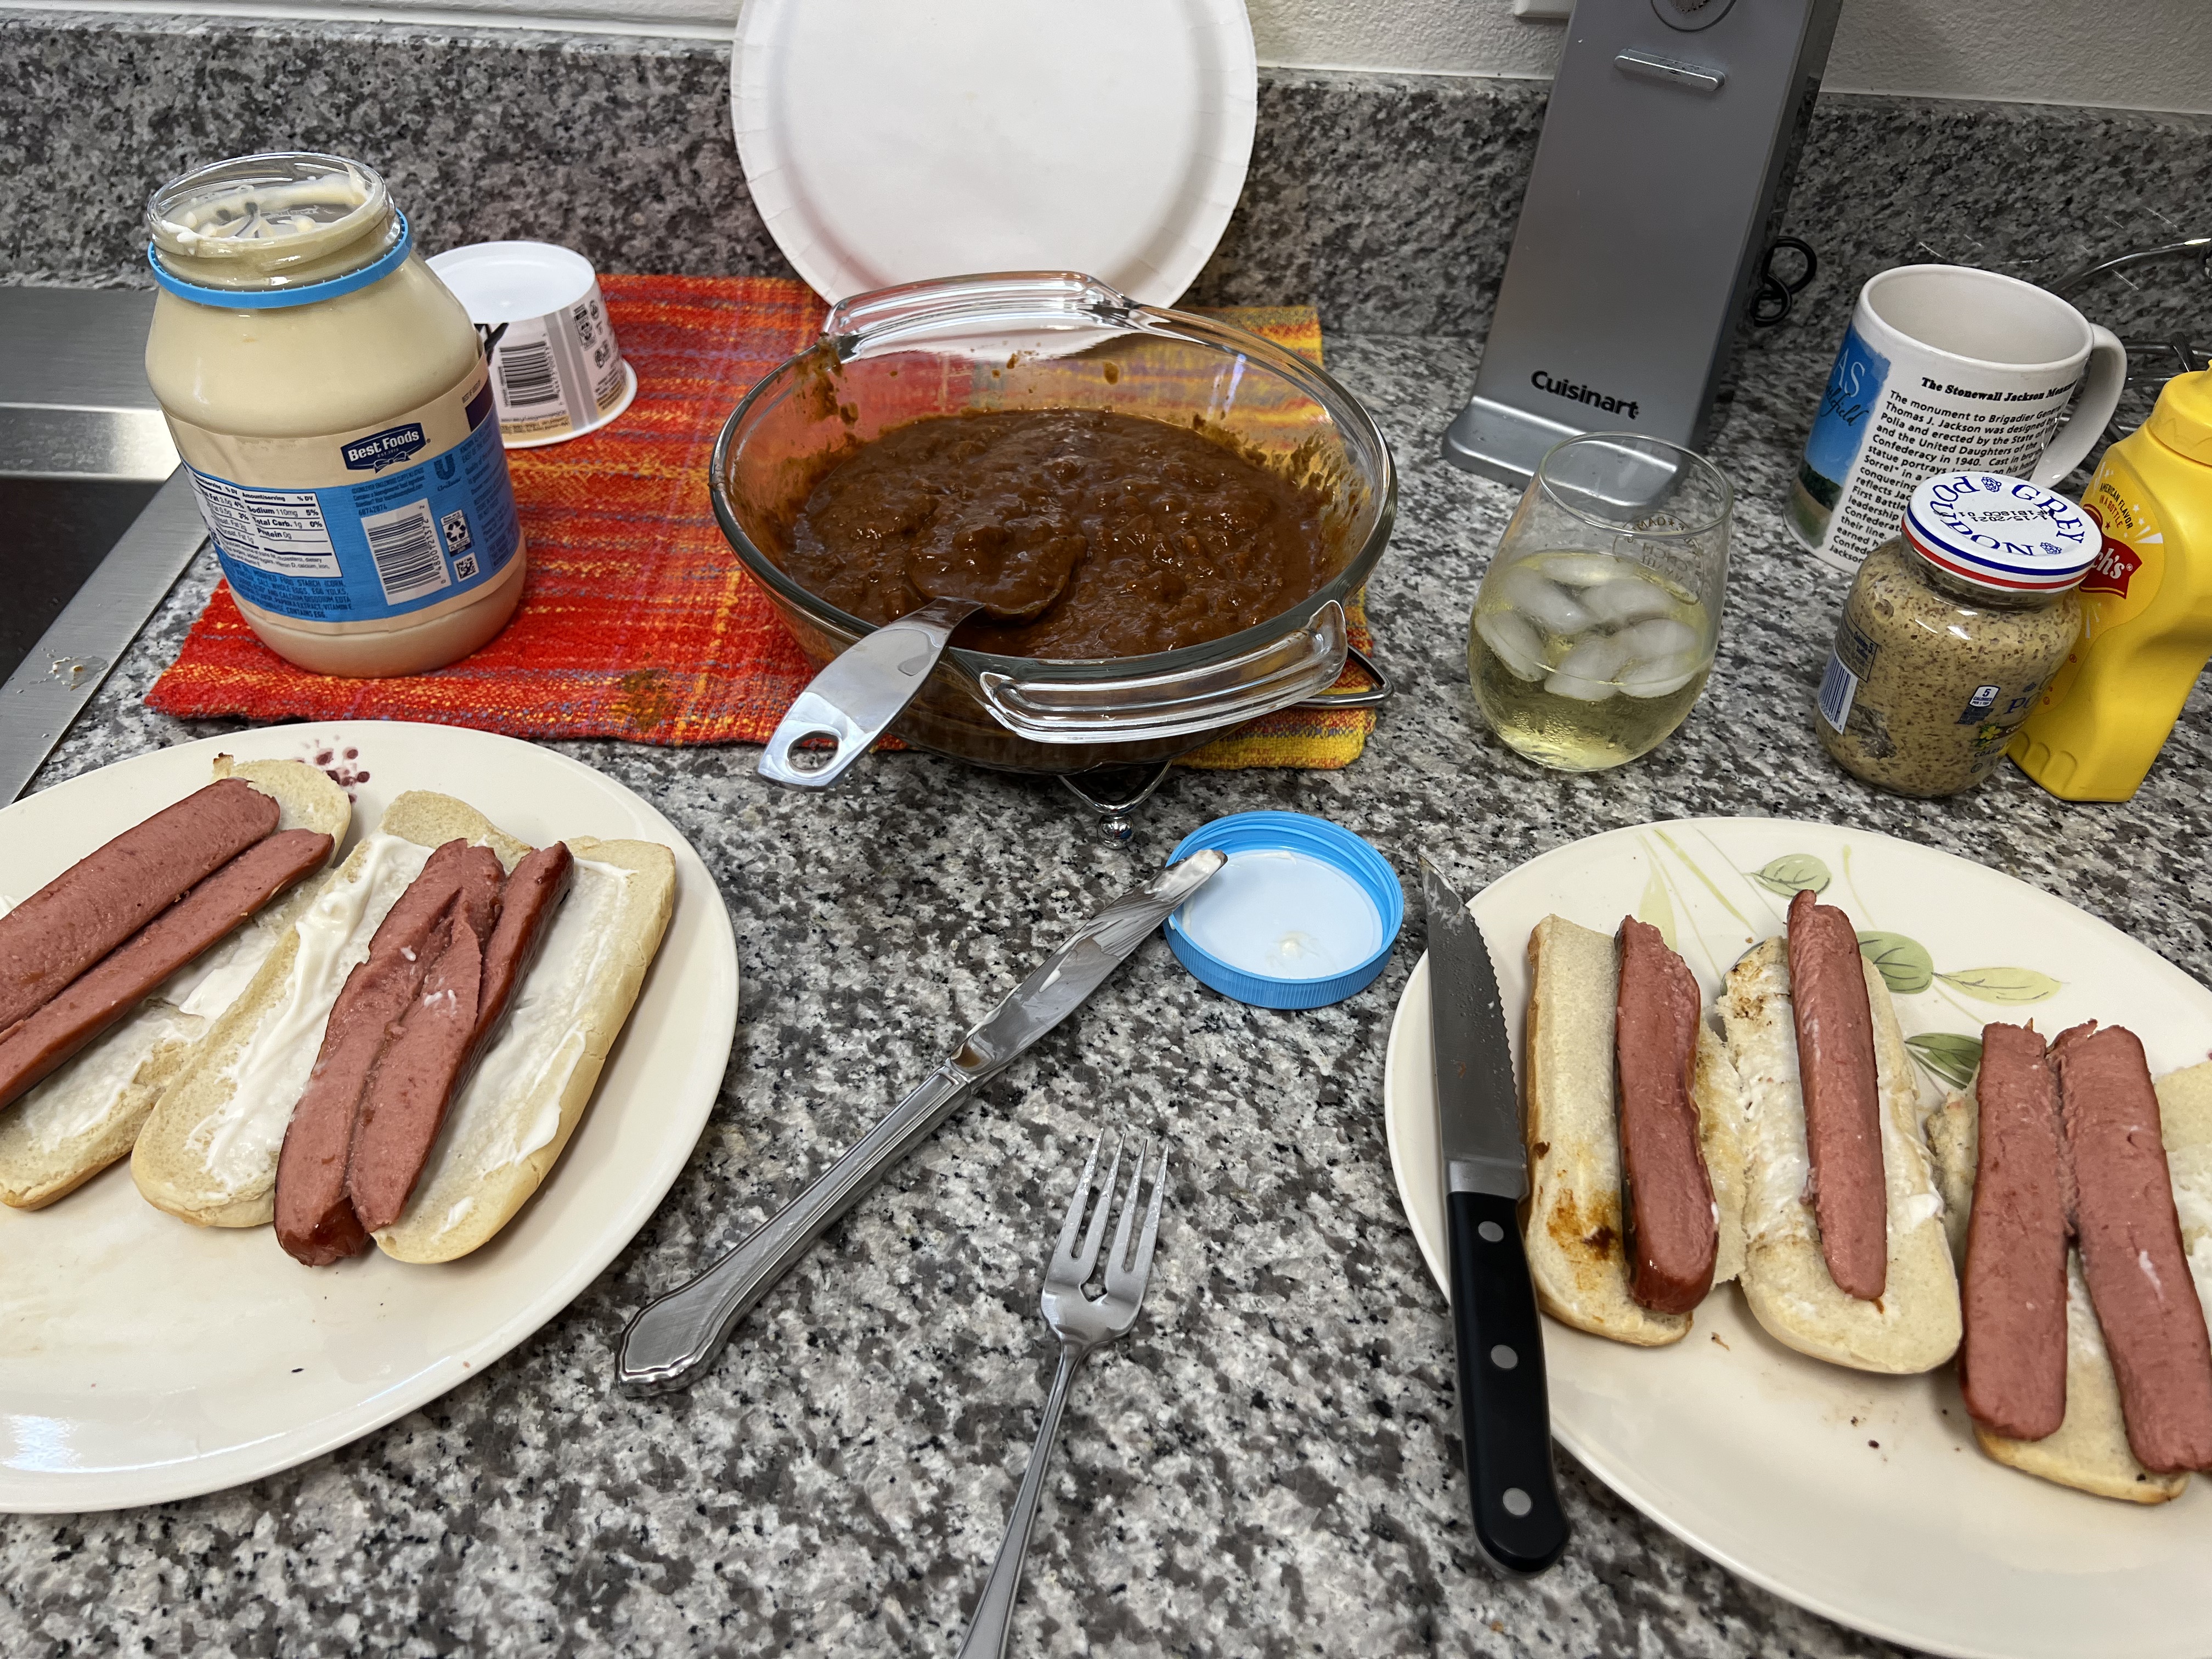
Don cleaned the BBQ and cooked the "Ball Park" bun
length hot dogs


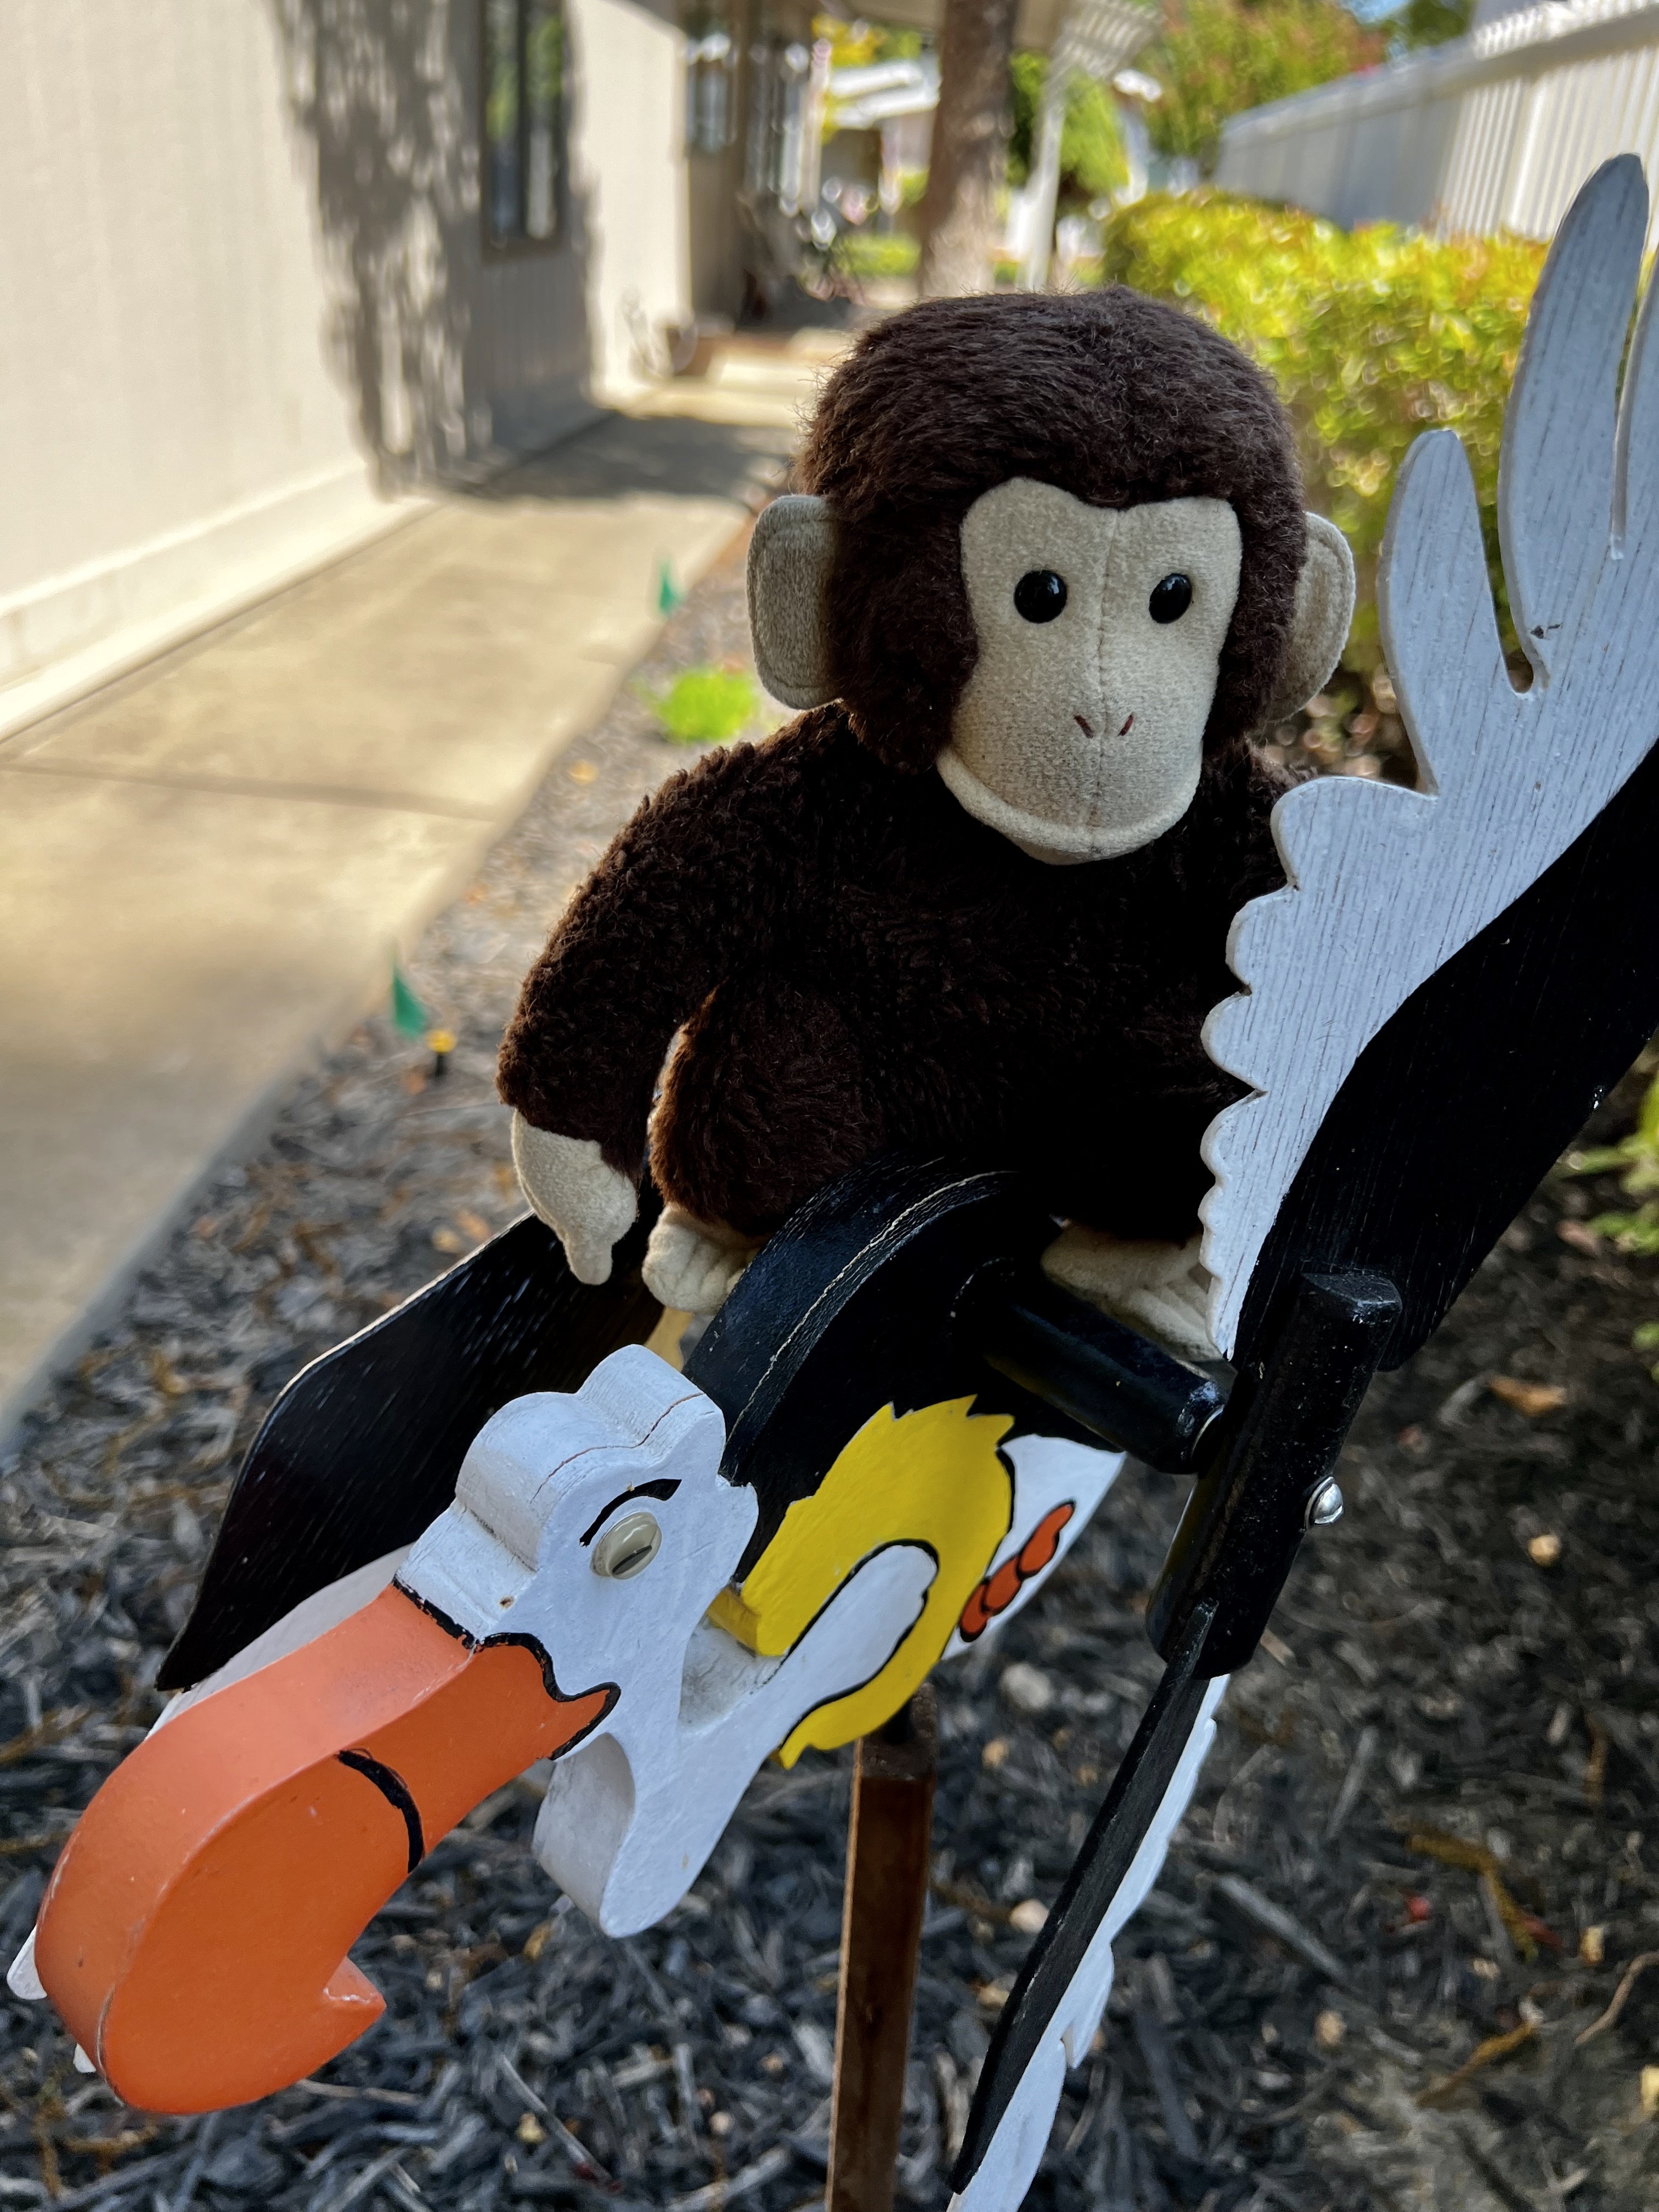
while my 37 year old "stuffed monkey"
decided to take a ride on our wooden whirly gig Buzzard,


but forgot to hang on and got the ride of his life, 


 and ended up on the ground.
His name is Monk and you'll learn more about him
in an upcoming blog... "Once Upon a Monk"


Time to eat those    


yummy Chili Hot Dogs!!!


After we ate all that we needed a walk.


And, we noticed we weren't alone... as we followed
footsteps in the sand,


as we walked around the pond in an effort to work off
some of those CHILI DOGS!!!


Tuesday, July 5, 2022

Xmas Bear - Too Cute

Last Christmas, about 8 weeks after we moved into our
home here in Citrus Heights, whenever we entered the park
we saw this cute bear at one of the neighbor's home.  I would
always wave back!!!  I finally stopped one day and took his picture.


About 10 days ago after I finished my Thanksgiving "Turkey Applique" 
I thought about this cute bear again.  So I created a black/white 
reverse image enlargement on my computer to use for my
pattern pieces.  (When doing applique with a non-symmetrical 
image, your pattern pieces have to be a reverse image.


At the fabric store I selected this mottled Christmas green fabric
for the background and some other Christmas colors
to complete the project.


When appliquéing all the red, pink, red, black
and candy cane patterned fabrics I stitched each with a
different color thread: pink for the ears,
red for his scarf and hat, and
grey for the bear's body which was 
created with a delicate white and grey floral print.


The candy cane's were the easy part because I just
happened to have some fabric (above) that I purchased
as part of a grab bag at a quilt show, that I thought would
look great.   So I designed 3 different sizes and shapes,
and let the fabric do all the work.


As you might imagine, the hardest parts were the tiny black  
eyes, paw and nose.   (Click on any photo for a larger view.)
 I designed this happy bear to hang on the wall where 
I hang a rotating display.  This little guy will occupy
 the space for the Christmas Season.


And last but not least,  I used a wild black fabric with colorful
little polka dots for the backing of the piece.   I selected
this fabric because it looked like  Christmas lights to me!!! 
(I've folded the corner up so you can see more of the fabric.)
From the front you only see a 1/2" width as it wraps
from back to front to create a bound edge.


Friday, June 24, 2022

Paper Collage - A New Idea

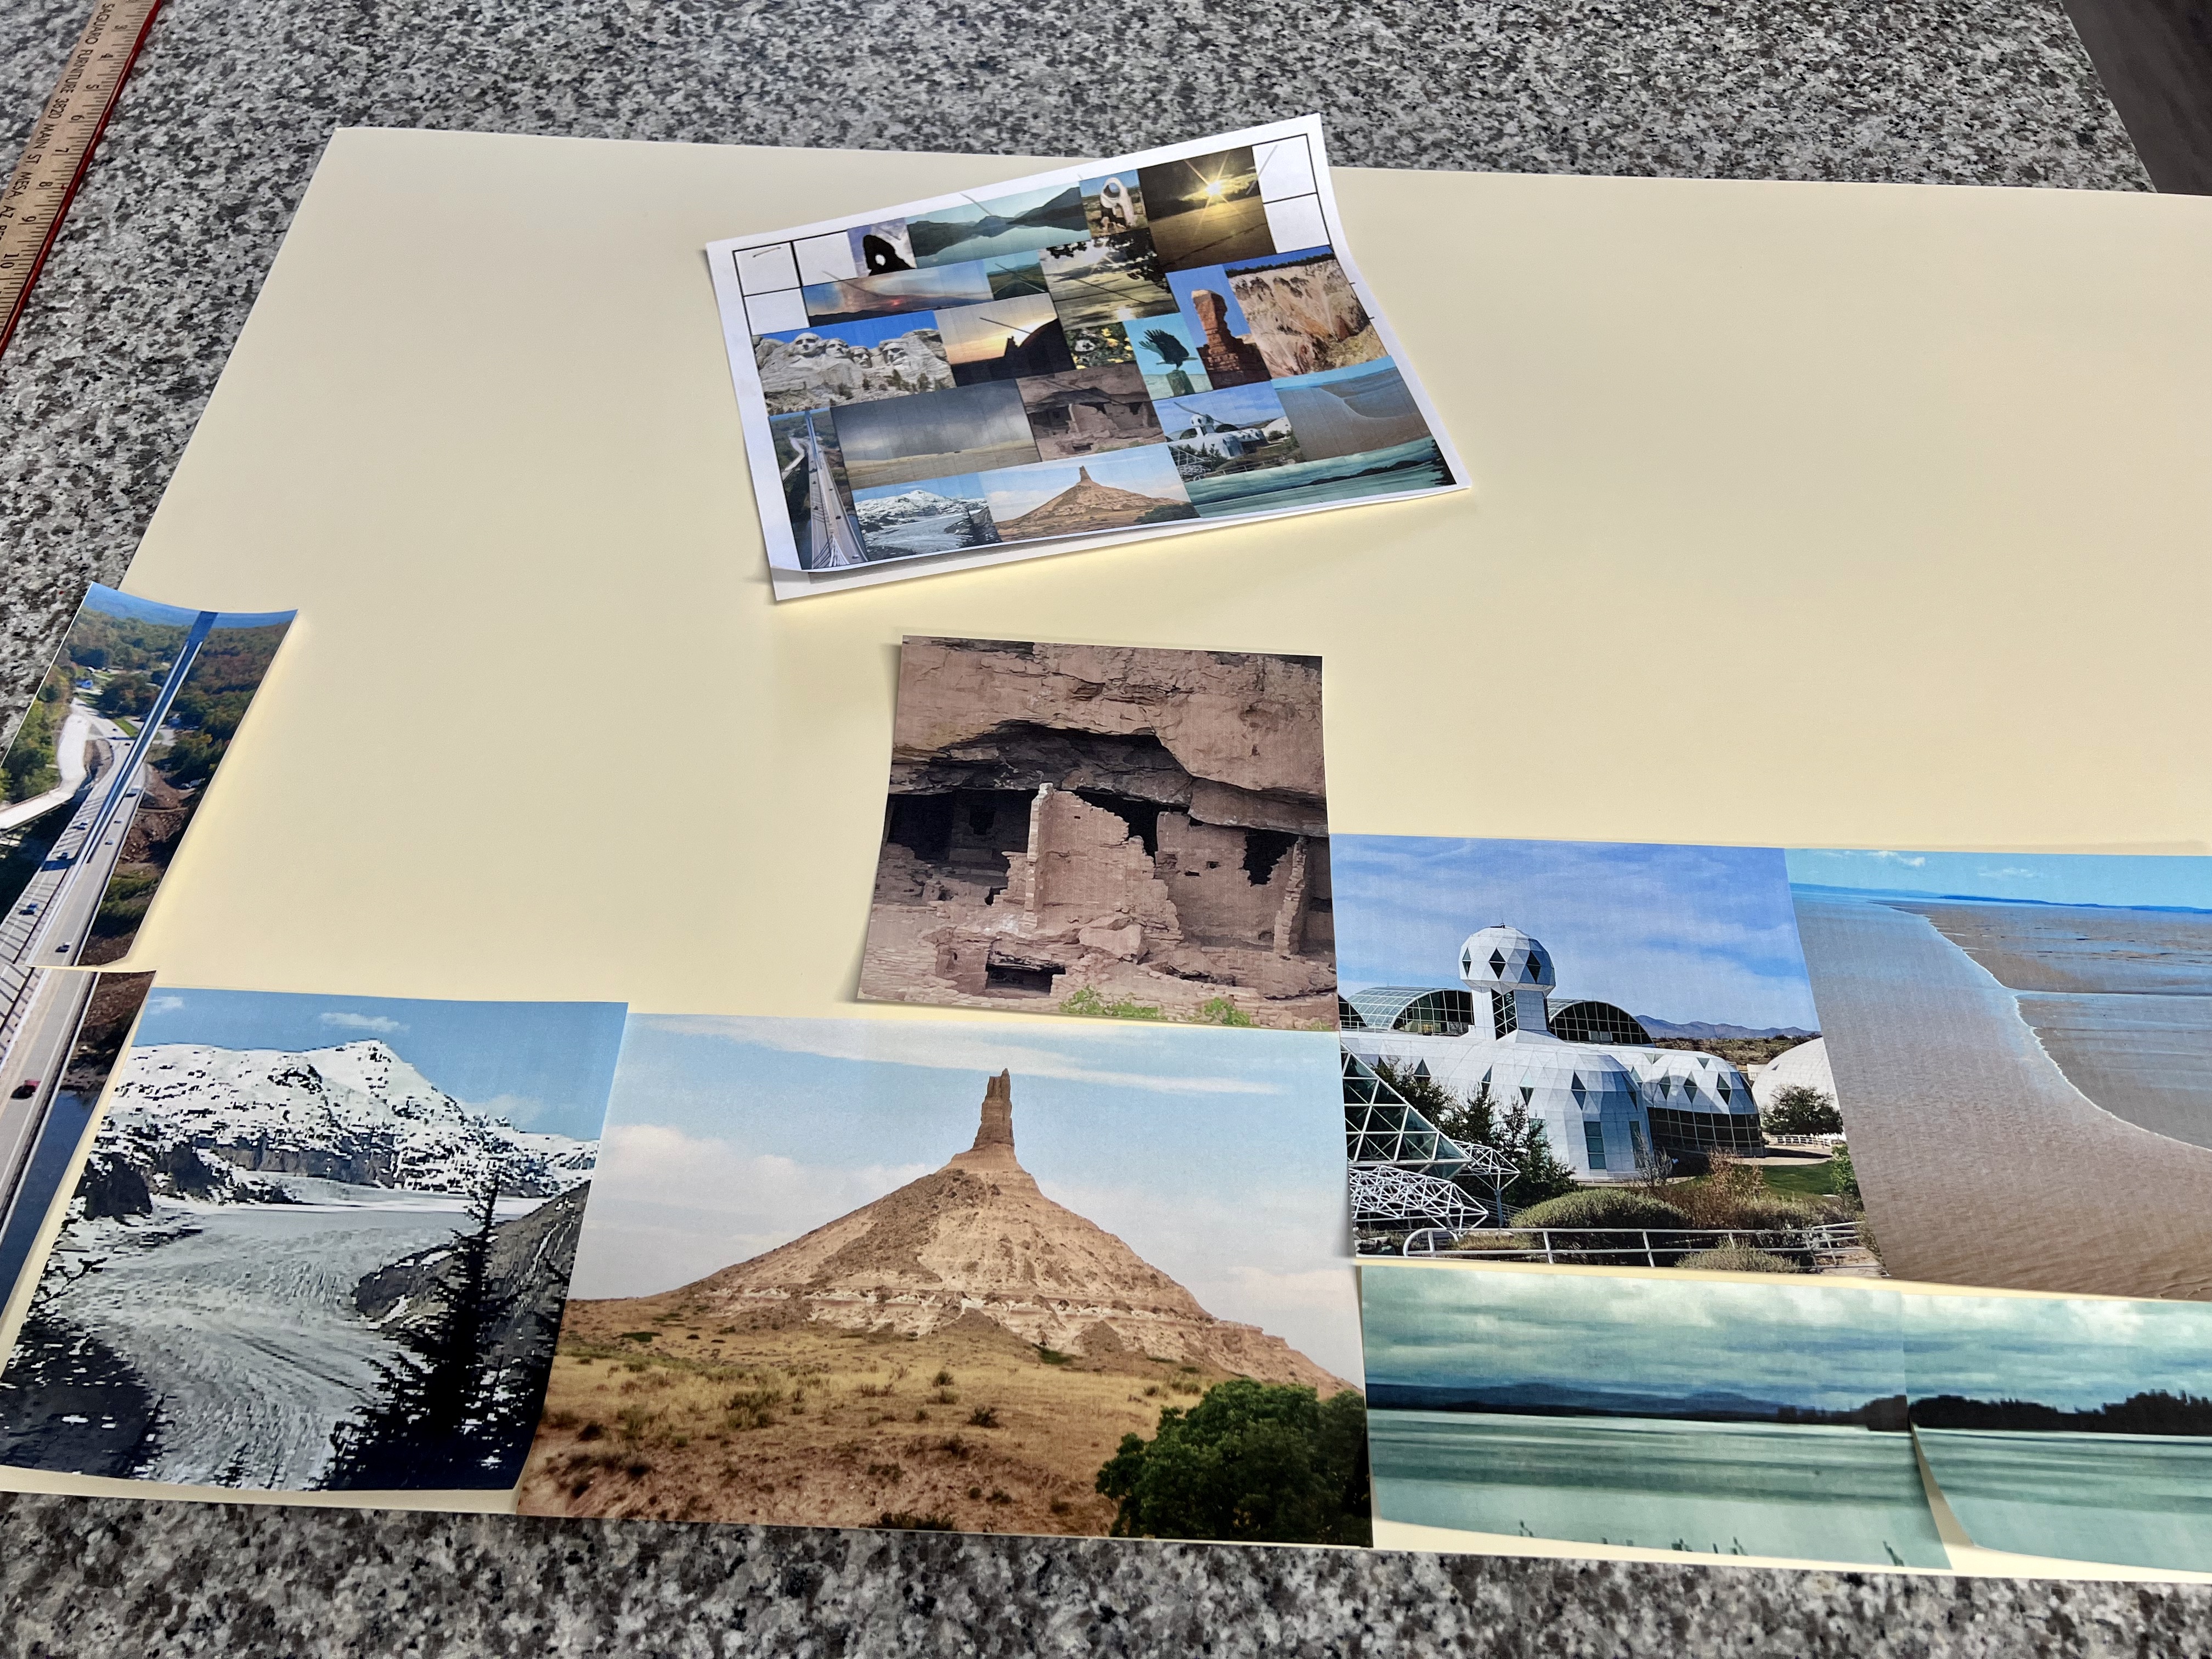
Things are quiet so I decided to make a new paper collage from
some of the photographs I've taken.  To get started I created a grid
of 3 " x 3" squares on my computer and dropped the photos onto the grid.


Each photo was "cropped" to a certain size,  based on the particular
photo,  and placed on the grid on my computer so
I could determine which  photos  should be placed next to each other
based on their color.  I did a small "mock-up" first.


Then I created a "to scale" layout for each category, based upon 
the size... 3" x 3",  3" x 12,  6" x 6" or 3" x 9"
and then printed all the enlarged color photographs.


I found this great device,  a Fiskars Card Making Bypass Paper Trimmer-9"
at the local Michaels store which would allow


me to cut each shape to a precise measurement.


Since some of the photos  needed to be over 6"  in one direction,
 I had to use my 6" wooden ruler in addition to the paper cutter to
get those 9" x 6" sizes.  


I did have some 3" x 12" shapes which meant
I had to cut that photo  in two  3" x 6" pieces and then carefully glue
 them together, as I did with this photo along the lower left edge.

I'll tell a little story about this bridge:

Fort Knox Penobscot Narrows Bridge is located in 
Prospect Maine  I took this photo 9/23/2008. 
This State Historic Site was constructed in the mid-1800’s.
  It is the tallest bridge observatory in the world.  
The elevator takes you up 420’ for a 360 degree view 
of the Penobscot Bay area.

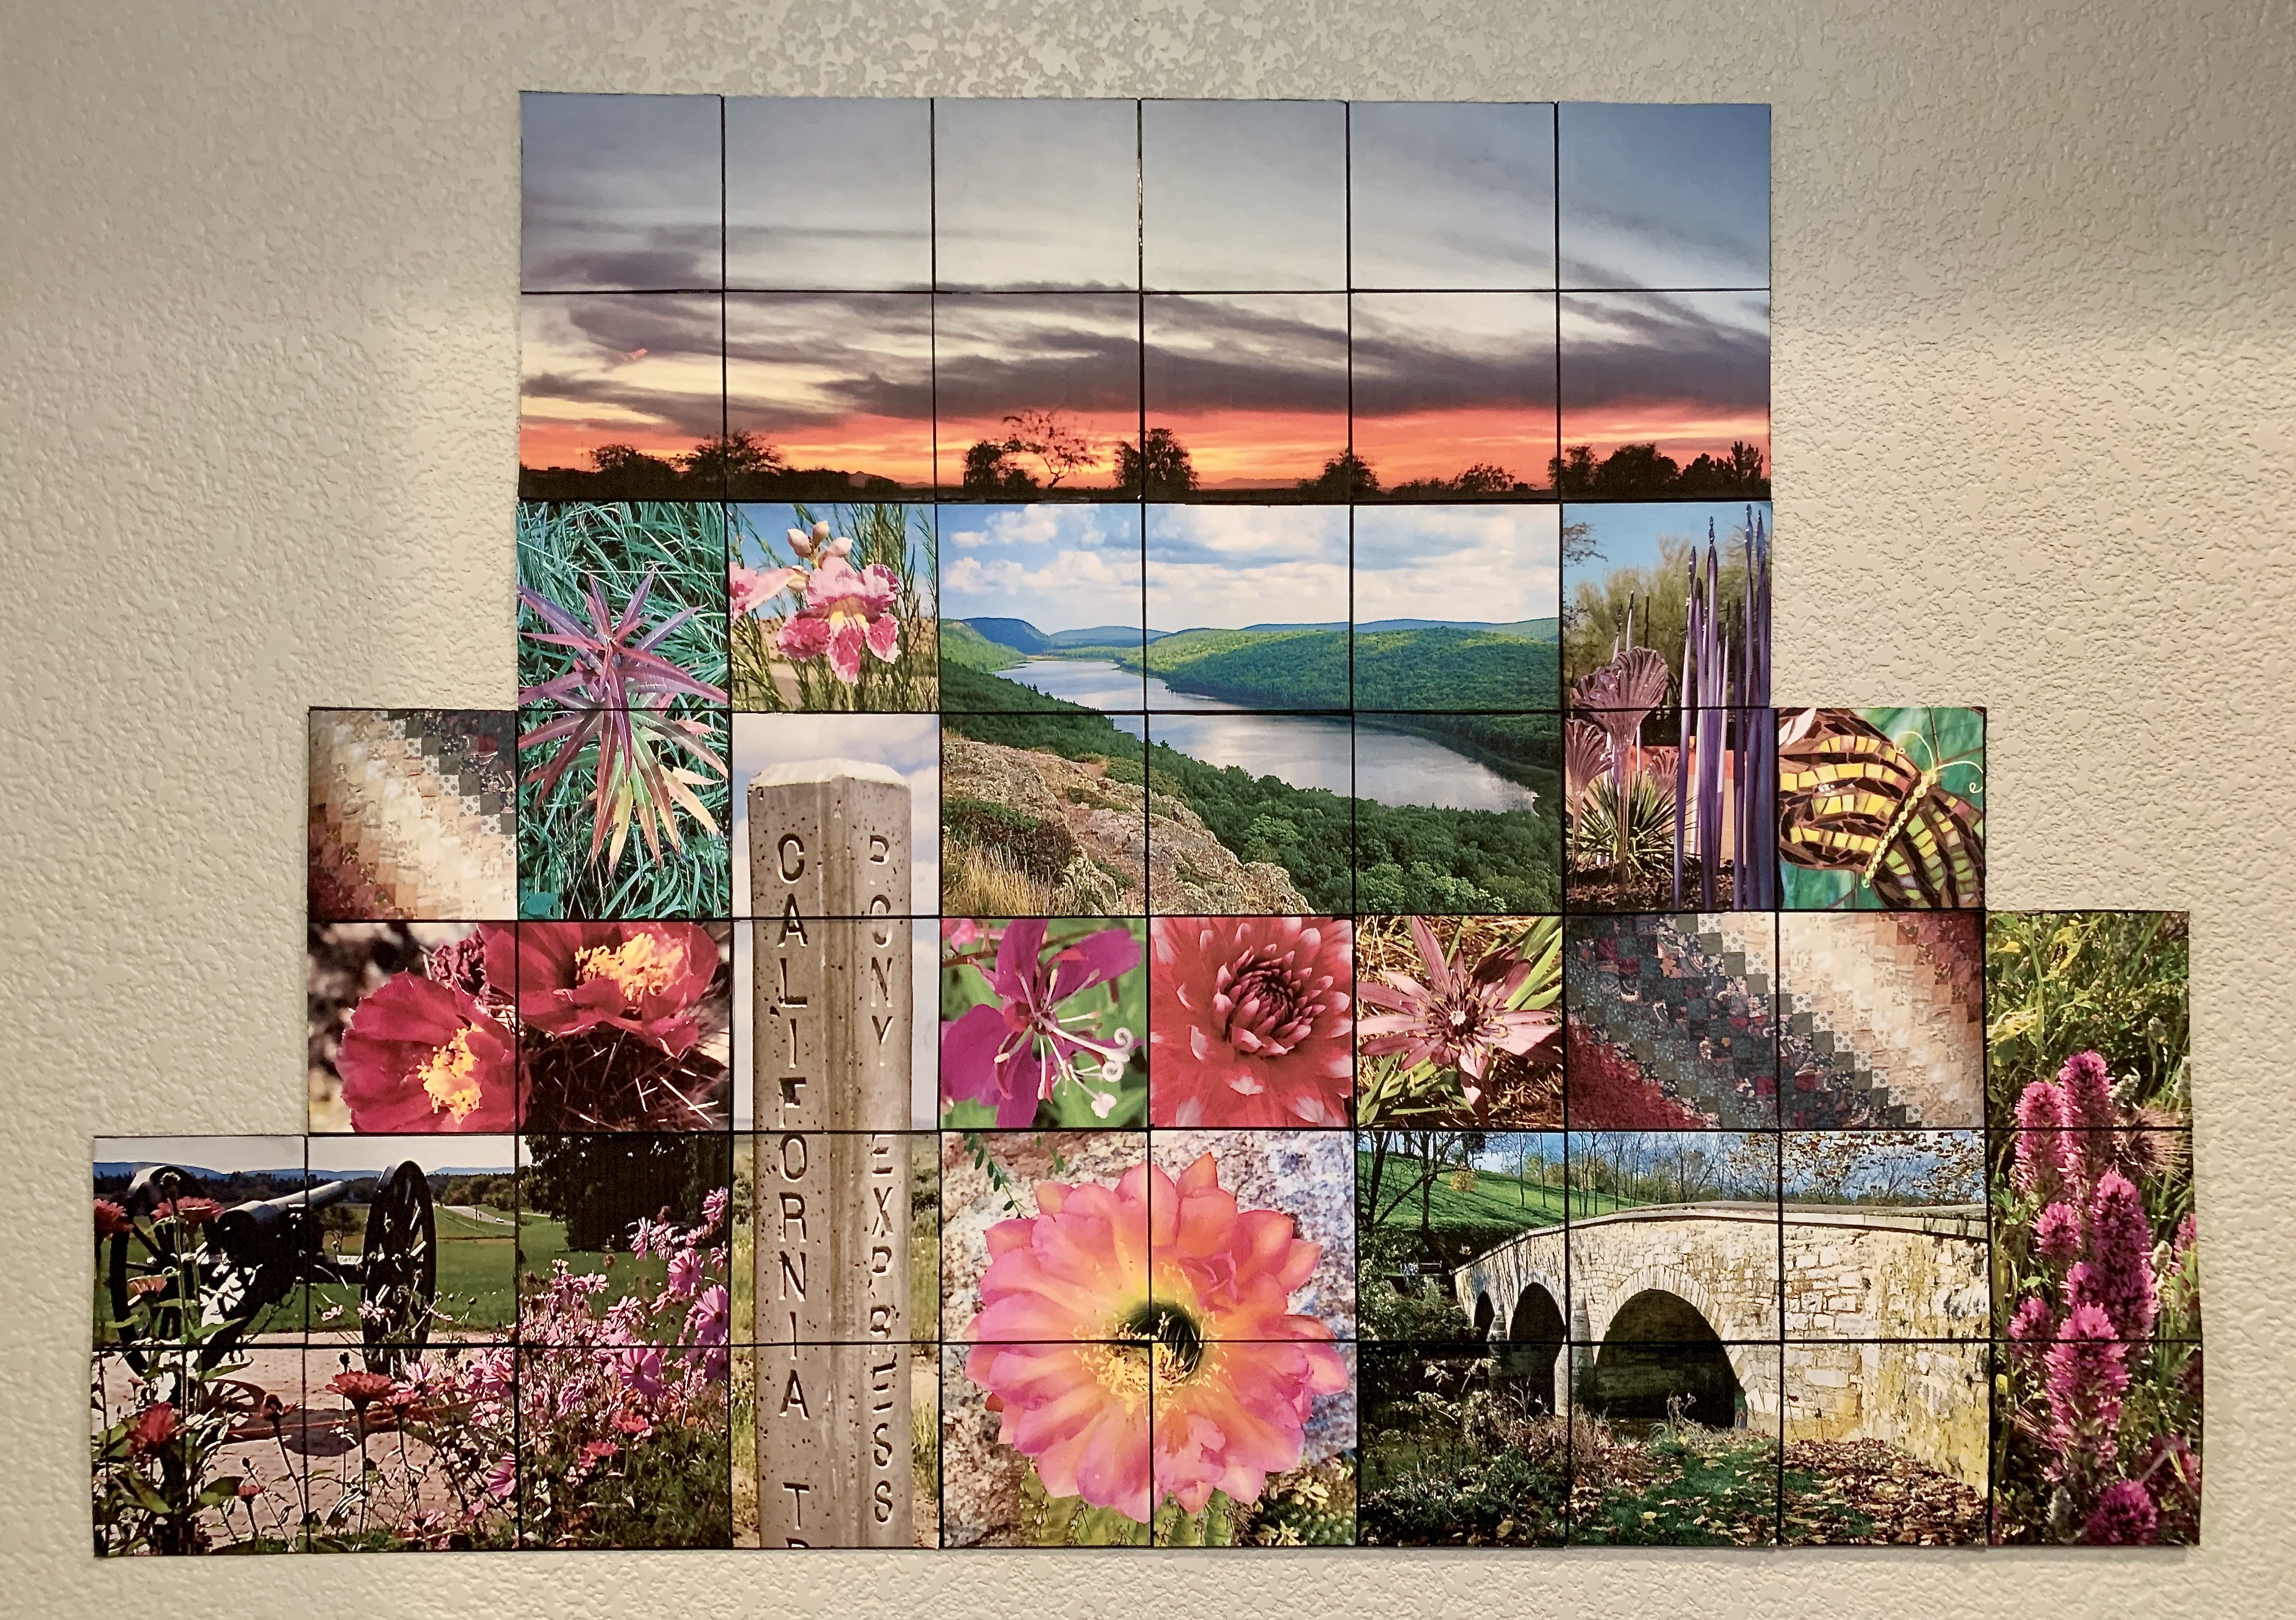
As you might imagine, each photo in this entire collage has it's
own story, but this blog would go on "adnauseam if I told you
all the stories!!! 


Following my original to scale printout, I glued each photo
to a large piece of cream colored matte board, which 


Don then trimmed to fit the actual shape of the 
 collage because, as you can see  it has some irregular shapes 
along the top edge.


To "frame" the piece, I applied some 1/4" Black Crepe Art Tape 
around  the entire 24" x 30" piece.


Then it was time to hang the piece on the wall space 
between the master bathroom door and our walk in closet.   
I used some tape to mark the placement of  the lower corners,


and then attached Command Strips to all the corners as well
as the bottom & top edge.


Once again Don helped my with his level to make sure
it was level.  Mission accomplished. 


 You know the story... for a closer
look click on any photo.


When we lived in AZ I made a similar collage.
However I cut any photo larger than 4" x 4" into separate shapes and
glued them on a  black matte board and left a 1/4" space between
the photo segments,


so the black would show around each individual shape.
For example the sunset photo across the top
required that I  print out 12 individual 4" x 4"
squares from my enlarged photo... which I also did on my computer.


It hung on the wall above the pull down murphy bed in
our second bedroom!!!  We left it there when we left AZ...


Maybe it's time for a road trip to take some scenery shots
and get out of this 7 day over 100 degree heat wave.
Hey Don, I have an idea...





Sunday, June 12, 2022

Big Bird Update PLUS Colorful Turkeys


My last blog left off with a bald eagle and
a great white pelican (with no eyes).


Well the eyes I ordered from the taxidermy website and
the "Fabric and Craft Gorilla Glue" I ordered,  arrived on the same day


The great thing about this glue is that it dries instantly and you
don't have to hold it in place for 30 minutes.


So what do you think?


I just dabbed the glue on the backing paper on the
wrong side of the eye and pressed it on the fabric for
a few seconds!!!


Last Thanksgiving while walking around the neighborhood,
I couldn't resist taking a photo of this inflatable turkey.
Pretty Colorful...


And as you have noticed we have lots of wild (not so
colorful) turkeys around our community... some gather
for a visit on the park benches and


others strut there stuff in the greenbelt area behind
our home.


Then I saw this cute photo somewhere and snapped
a picture of it.  Colorful don't you think?


It made me think of that colorful fabric packet
that I purchased at a quilt show, 


which I partially used to create my houses banner....


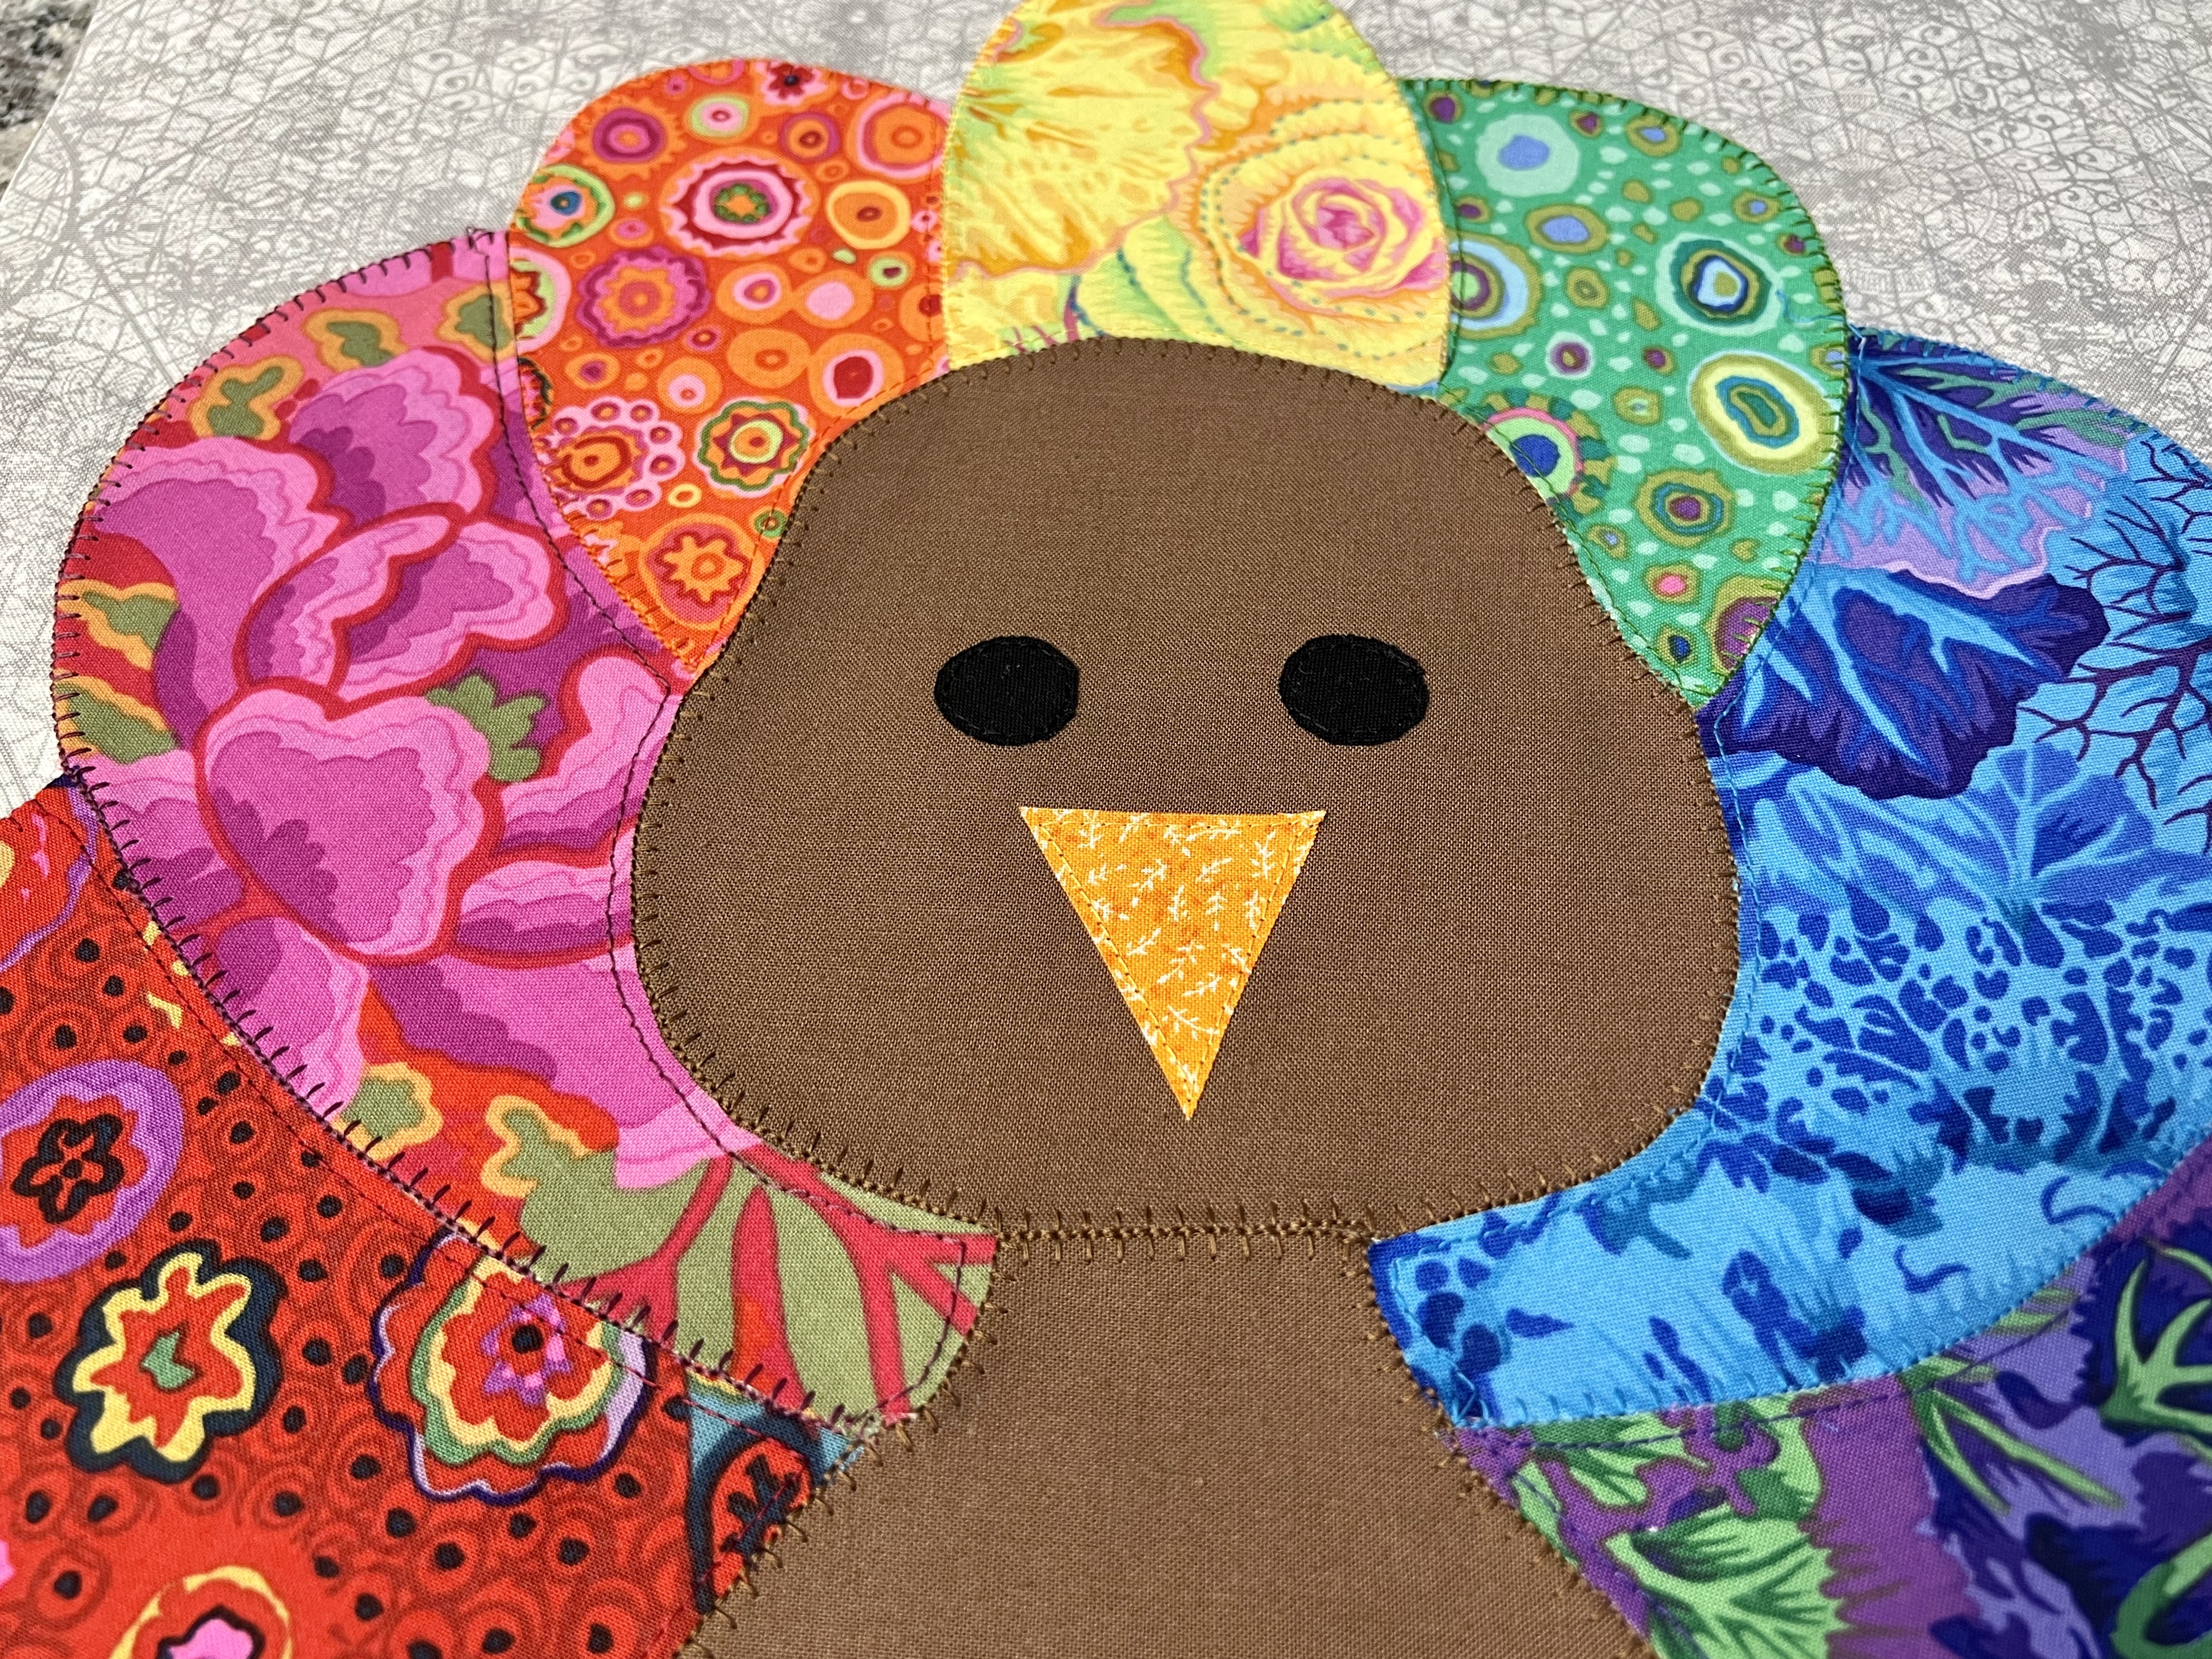
So I stylized and simplified and created my own pattern
for this colorful turkey and laid out the arrangement on
the kitchen counter.  Looking Good!!!


So I went to my thread drawer and selected the right colors
red, pink, orange, yellow, green, blue and purple for the feathers
and brown, black and orange for the body of this cute and
colorful turkey.


I stitched each piece onto the background fabric which has a
light grey pattern which made the colors POP.  I used  a "blanket"
stitch around all the outside curves and a straight stitch on
the inside curves.  Sounds complicated but my new machine
can handle all that without me doing anything but stopping
the machine and dialing in the next stitch I want use.
Piece of cake, a little time consuming, but easy.
(Click on any photo for a more detailed look.)


I had also purchased this half yard of fabric at another
quilt show, just because I couldn't resist the wild colors.


I haven't finished adding the batting, binding and backing yet,
but this will give you an idea of what the final piece
will look like.  I think it will make a colorful addition
to our holiday decor.


Another Mixed Bag: Ruby + Flowers and other things...

Can you believe this weather for the Sacramento CA area in late JUNE???  Time to head outside. There were interesting vapor trails in a beau...